Archive for the ‘mobile-phone’ Category

Small perl mechanize script to send sms from danish telco provider Bibob

Thursday, July 28th, 2011

It can be handy to send sms’es from scripts. In old time you could do that in Telia by sending a mail to <mobile number>@gsm1800.telia.dk. But that service was closed. Now that I am leaving Telia in favor of Bibob I saw that they had a websms service.

And so I combined their fine web service with my perl scripting skillz. The script can be downloaded here

Do not forget the agreement between you and bibob. You are only allowed to use the websms service (and thus this script) for personal use. I am not to blame if bibob closes your bibob account because you spam-smsed a lot of people.

The code is also included here:


#!/usr/bin/perl -w

#####################################################################
#
# File:         bibob_sms.pl
# Type:         bot
# Description:  Send an SMS using bibob websms and perl mechanize
# Language:     Perl
# Version:      1.0
# License:      BeerWare – Thomas S. Iversen wrote this file.
#               As long as you retain this notice you can
#               do whatever you want with this stuff.
#               If we meet some day, and you think this stuff is
#               worth it, you can buy me a beer in return. Thomas
#
# History:
#               1.0 – 2011.07.28 – Intial version
#
# (C) 2011 Thomas S. Iversen (zensonic@zensonic.dk)
#
#####################################################################

use strict;
use WWW::Mechanize;
use File::Basename;

# Variables controlling bot behaviour

my $sms_url=‘https://www.bibob.dk/bibob/bibob?cmd=websmssender’;
my $login_url=‘https://www.bibob.dk/bibob/bibob?cmd=loginFrame’;

my $script=basename($0);
die "$script <bibob mobile number> <bibob password> <recipeient number> <message>" if(!($#ARGV+1 == 4));

my $username=$ARGV[0];
my $password=$ARGV[1];
my $recipients=$ARGV[2];
my $message=$ARGV[3];

#
# You should not need to alter anything below this line
#

#
# Main code.
#

# Create mechanize instance
my $mech = WWW::Mechanize->new( autocheck => 1 ); #Create new browser object
$mech->agent_alias( ‘Windows IE 6′ ); #Create fake headers just in case
$mech->add_header( ‘Accept’ => ‘text/xml,application/xml,application/xhtml\+xml,text/html,text/plain,image/png’ );
$mech->add_header( ‘Accept-Language’ => ‘en-us,en’ );
$mech->add_header( ‘Accept-Charset’ => ‘ISO-8859-1,utf-8′ );
$mech->add_header( ‘Accept-Language’ => ‘en-us,en’ );
$mech->add_header( ‘Keep-Alive’ => ’300′ );
$mech->add_header( ‘Connection’ => ‘keep-alive’ );

# Get login page
$mech->get($login_url);
$mech->success or die "Can’t get the login page";

# Submit the login form with username (mobilnumber) and password
$mech->submit_form(with_fields => { ‘loginmsisdn’ => $username, ‘login-password’ => $password });
$mech->success or die "Could not login";

# Get sms page
$mech->get($sms_url);
$mech->success or die "Could not get sms page";

# Send sms by submitting sms form
$mech->submit_form(with_fields => { ‘recipients’ => $recipients, ‘message’ => $message });
$mech->success or die "Could not send sms";

# Figure out status
my $html = $mech->content();
die "Form submitted, but message does not appear to be sent" if(!$html=~/Beskeden blev afsendt/ig);

exit 0;
About errors setting up SASL/StartTLS in Postfix under Ubuntu

Sunday, August 29th, 2010

In the process of setting up SASL and StartTLS under Postfix, I got this in the log:

“warning: SASL authentication failure: cannot connect to saslauthd server: No such file or directory”

It took me some minutes to figure out what was wrong. Obviously it has to do with postfix not being able to connect to the saslauthd server. The question is just, why? I went with a hunch of permissions … and wasted some time, so if you get the error, here is what solved it for me. In

/etc/default/saslauthd

You have to remove the default line and let saslauthd create its file under the postfix dirstructure. That is

> OPTIONS="-c -m /var/spool/postfix/var/run/saslauthd
< OPTIONS="-c -m /var/run/saslauthd"

And then

/etc/init.d/postfix restart

Not rocket science, but I chased a wild goose looking at permissions for 15 minutes before figuring out what was wrong.

Revitalizing an aging Nokia E66 mobile phone

Tuesday, July 27th, 2010

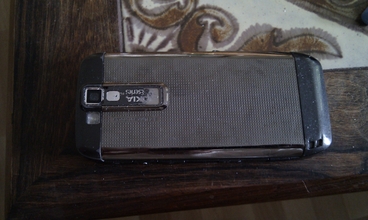
I had decided to give my wife my E66, but my E66 was pretty much worn out. The case had started to fall apart and there was dust beneath the glass protecting the TFT screen.

What was wrong with the E66? (broken fascia)

What was wrong with the E66? (wear and tear)

It is possible to buy spareparts for mobile phones though. Buying them from a local dealer in your country will surely set you back many many dollars. Luckily Ebay came to the rescue. I bought a new fascia housing for my Nokia E66. Only  set me back around $10.

The seller states:

NOT supplied fitting manual
Replacing your phone with this new fascia, the preference to phone shop engineering maintainers or alternatively change it by yourself with any of corresponding tools.

So this blogpost constitutes a walkthrough on how to replacing the fascia, in case somebody else decides to revitalizing his or hers aging Nokia E66.

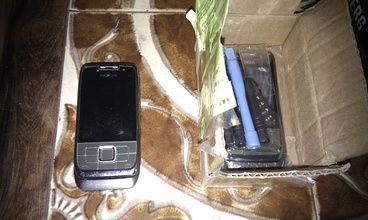
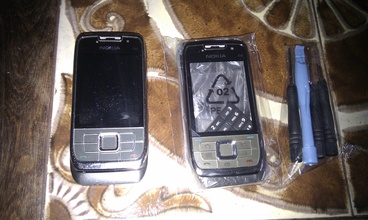
What was in the package from the seller?

Old phone and new package

Unpacking the new stuff (fascia and 3 screwdrivers)

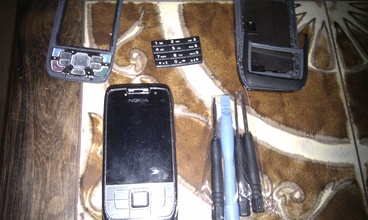
Unpacking (taking the new fascia apart)

I then started to take the old phone apart. Gently, noting where everything went. This is not the time where you want to have leftovers afterwards!

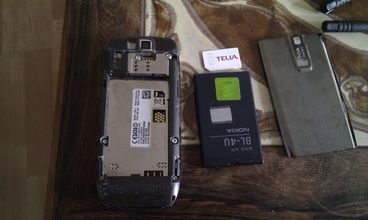
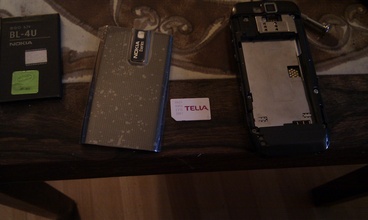
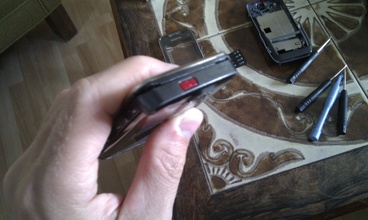
Taking the E66 apart (remove battery and SIM)

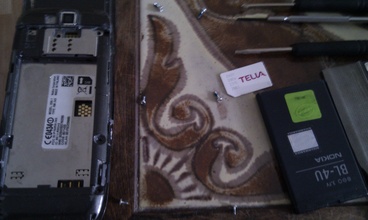
Next up, remove the screws. Notice carefully what screws belongs to what hole. There are 3 different screws on the back.

Taking the E66 apart (reming the 6 screws from the back)

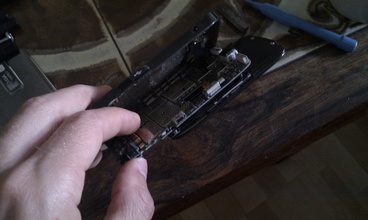
Next seperate the front and the back from the actual phone mainboard. Do this very very carefully. Do not get angry! And do not use excessive force. Everything in the phone are hold together using plastic tabs at this point.

Detaching the phone mainboard from the back and front

The two connectors from the front and back PCB to the main PCB needs to be detached gently. They will come off without force if you do it right.

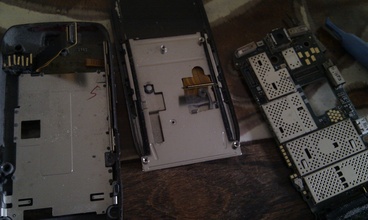
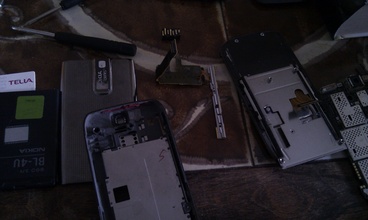
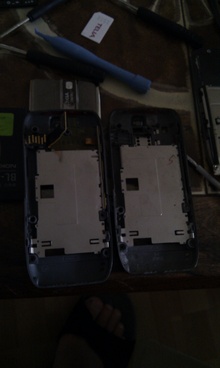
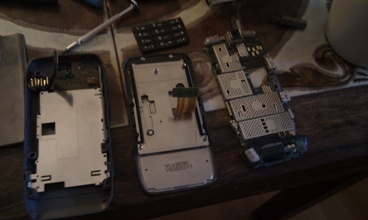
The front and back cover seperated from the mainboard

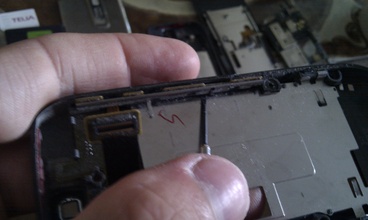
Working on the back, you need to detach the PCB where all the buttons are located. Gently use a thin screwdriver for this. You also need to detach the power connector. That is most easily done by putting a screwdriver into the powerconnector, tipping the screwdriver downwards. That will make the connector pop out of its plastic tabs.

The button PCB of the back being detached

The button PCB hanging in midair

The button PCB and power connector removed

Assembling the back is just the reverse process. Keywords are: patience, low force, patience

Attaching power and button PCB onto new back fascia

Back part done

Working on the front part. Unscrew the two screws holding the PCB onto the slider. Do not fall for the urge to do anything about the spring system!! If you do, you will not get a working phone afterwards!

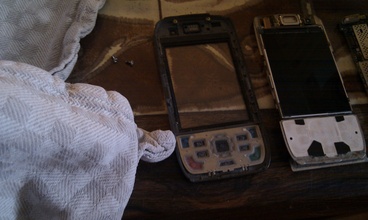
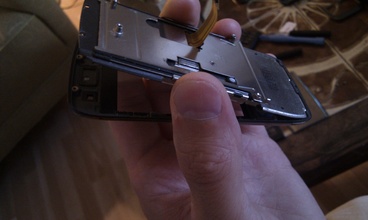
After unscrewing the two screws, you can pull the PCB out of the fascia. I then cleaned the TFT and put the PCB into the new fascia.

Seperating the front and cleaning it

Putting the front PCB into the new fascia

Front and back fascia was now done.

Front and back are exchanged

Assembly of the parts again. Just reverse the steps you did when taking the phone apart.

Only battery and SIM missing

And then

All done

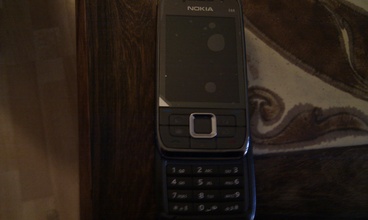
And it is still alive, who should have thought that ;-)

It is alive

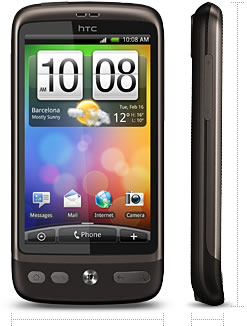
Got myself a HTC Desire mobile

Thursday, July 22nd, 2010

My wife complained about her Nokia 6700 classic was a real pain to use for SMS’s. She tried my Nokia E66 and found it to be much better. As the true gentleman I am, I imediatly gave her my E66 — it was almost two years since I got it anyway. Having given her my phone, I had none. On the other hand,  that provided me with an excuse for buying a new one.  More specifiically an  HTC Desire.

HTC Desire

The phone arrived today and after having used it for some hours I can say that it is a fine piece of equipment. Useful as a phone, useful as a toy, useful as a tool, useful as a camera, voice recorder, media player. You name it. I am quite sure that we will get along just fine :-)

Nokia E66

Saturday, October 11th, 2008

Then it happened. I got tired of apple and the iphone! The iphone could have been soo much more useful. Sure it is awsome for browsing the net and taking high quality pictures. But basic features like outlook sync, bluetooth support and MMS are lacking. And after almost a year there is no sign of apple implementing these features. It is not because the iphone lacks the technical capabilities. It is purely a software problem/restriction. One can only guess why apple have choosen to limit it.

I got a Nokia E66 as a replacement. While being inferior with regards to browsing the net and screen realestate, it synced up to my outlook work calendar using bluetooth without any hazzles. It has all the features (and many more — barcode reader!?!) that you would expect from a phone in 2008. I plan to play with the GPS in it, when I get the time :-) Will surely come in handy when I go to reading in November on Vertias storage Foundation course.