One of my projects this easter was to give my home server an overhaul. The harddrives was running very low on kapacity and the Ubuntu server installation was beginning to be a nightmare to maintain. I choose to upgrade the hardware as well and then thrown in ESXi into the equation as well.
The hardware
The hardware centers around an ASUS E35M1-M mainboard with an AMD Zarcate APU and a AMD Hudson M1 FCH. The APU has two cores, a TDP of mere 18W and has the AMD-V extensions.
I bought 2 x 4GB of memory for the setup, which is maximum for the board. Lastly I bought a couple of Samsung F4EG HD204ui drives (low power, low cost, high capacity, resonable performance)
Planning it
Planning the installation revealed that
- ESXi 4.1 does not support the board; the onboard NIC is not supported.
- The Samsung drives has a serious firmware bug.
- The E35M1-1 doesn’t have raid functionality, if you care about (some of) your data.
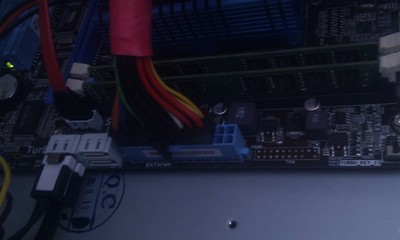
- The E35M1-1 board has an EATX 24pin power connector and my oldish antec cabinet/psu only has an ATX 20pin.
All items can either be fixed or worked around, not to worry.
Getting the hardware running.
I put the hardware together in my oldish Antec cabinet. I then used a standard $10 multimeter to verify that the 4 extra pins on the EATX connector on the mainboard (compared to a normal 20 pin ATX connector), was in fact hardwired/bridged to other pins on the mainboard. This bascially means, that a 20 pin ATX PSU will suffice for this board.
After that, I obtained the firmware fix for the Samsung drives. It turned out, that I did not need it as drives manufactured later than December 2010 already contains the fix according to this post.
Installing ESXi 4.1 on the E35M1-M
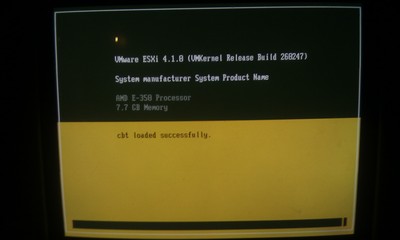
You can download ESXi 4.1 for free. I did that. I burned the .iso file and booted from the CD. It booted the hypervisor, but complained/failed when I pressed F11 for installation. As guessed, it is due to the fact that the NIC, an RealTek 8111E is not supported.
The fix is to include the realtek 8111E driver in the iso file, in two places: One place, used to include support in the installer. An one inside the ddimage, that the installer deploys onto the hardware. It is fairly simple if you know your way around linux. Instructions on how to build ESXi modules is on the net. For the lazy, you can pretty much get it served to you: an oem.tgz (local copy here) and a script called mkesxiaio (local copy here) that combines the oem.tgz and the ESXi installation iso.
Download iso and oem.tgz and script. Run script and burn resulting iso file. Boot that iso and install ESXi 4.1 onto the system. For me it worked flawlessly.
The Software side
After that I installed the ESX license key, provisioned an vm, installed debian 6.0 and migrated all my files to the new server.
In the past I used to have a raid setup. The Hudson H1 FCH does not have raid support and neither does ESXi, except on selected raid controllers. Now what?
The trick is to do it in software on the VM side. You provision two VM disks, one from each datastore, and combine them into a mirror/raid device inside the vm. You basically have two options:
- md driver
- lvm mirror
If you care about performance and the integrity of your data, you should go for the md driver as it respects write barriers. for my setup I thus ended up with 5 vmdisks
- One for the OS
- two combined into an md device for the crucial stuff and that in turn was used in a vg called vgsafe
- two spanned across that datastores for the the non crucial stuff. Those disks were just added to a vg called vgspan
/dev/mapper/edison-root on / type ext3 (rw,errors=remount-ro)
/dev/sda1 on /boot type ext2 (rw)
/dev/mapper/edison-tmp on /tmp type ext3 (rw)
/dev/mapper/edison-usr on /usr type ext3 (rw)
/dev/mapper/edison-var on /var type ext3 (rw)
/dev/mapper/vgsafe-lvhome on /home type ext4 (rw)
/dev/mapper/vgspan-software on /home/software type ext4 (rw)
/dev/mapper/vgspan-media on /home/media type xfs (rw)


Leave a Reply
You must be logged in to post a comment.